How to Improve Your Hiking and Outdoor Photography
Capturing the beauty of nature while hiking can elevate your outdoor experience and provide lasting memories. Whether you're a novice or a seasoned photographer, improving your hiking and outdoor photography skills involves understanding techniques, equipment, and composition. This blog will delve into various aspects of enhancing your outdoor photography, from preparation to execution.
Understanding the Basics of Outdoor Photography
Before hitting the trail, it’s important to grasp fundamental photography concepts. This knowledge forms the backbone of great outdoor photos.
Key Photography Concepts
-
Exposure: Refers to the amount of light that reaches your camera sensor. It comprises three components: aperture, shutter speed, and ISO.
-
Composition: How elements in your frame are arranged. Techniques like the rule of thirds, leading lines, and framing help create balanced images.
-
Lighting: The quality of light greatly impacts your photos. Golden hours (early morning and late afternoon) provide soft, warm light, perfect for landscapes.
Essential Gear for Hiking Photography
Investing in the right equipment can make a significant difference in your outdoor photography. Consider the following:
-
Camera: A DSLR or mirrorless camera offers flexibility, but high-quality compact cameras can also produce stunning images.
-
Lenses:
- A wide-angle lens (16-35mm) is ideal for landscapes.
- A telephoto lens (70-200mm) is great for wildlife and distant subjects.
-
Tripod: Essential for stability, especially in low-light conditions or for long exposures.
-
Filters:
- Polarizing filters reduce glare and enhance colors.
- Neutral density filters allow for longer exposures in bright conditions.
-
Extra Batteries and Memory Cards: Always bring backups, as hiking can drain batteries quickly.
-
Cleaning Kit: Keep your lens and sensor free of dust and water spots.
Preparing for the Hike
Preparation is key to successful outdoor photography. Here are some tips to ensure you're ready for your adventure:
Research Your Location
-
Trail Information: Understand the difficulty and duration of the hike. Familiarize yourself with the best viewpoints and potential photography spots.
-
Weather Conditions: Check the forecast to anticipate lighting conditions. Dramatic weather can enhance your photos, so be flexible.
-
Timing: Plan your hike to align with golden hours for the best natural light.
Pack Smartly
-
Camera Gear: Carry only what you need to minimize weight. Consider using a camera backpack designed for hiking.
-
Snacks and Water: Stay energized and hydrated to keep your focus sharp.
-
Clothing: Wear comfortable, weather-appropriate clothing. Layering is key for changing conditions.
Techniques for Great Outdoor Photography
With the basics covered and your gear ready, it’s time to focus on techniques that will enhance your photography skills.
Composition Techniques
-
Rule of Thirds: Divide your frame into thirds, both horizontally and vertically. Place key elements along these lines or at their intersections to create balance.
-
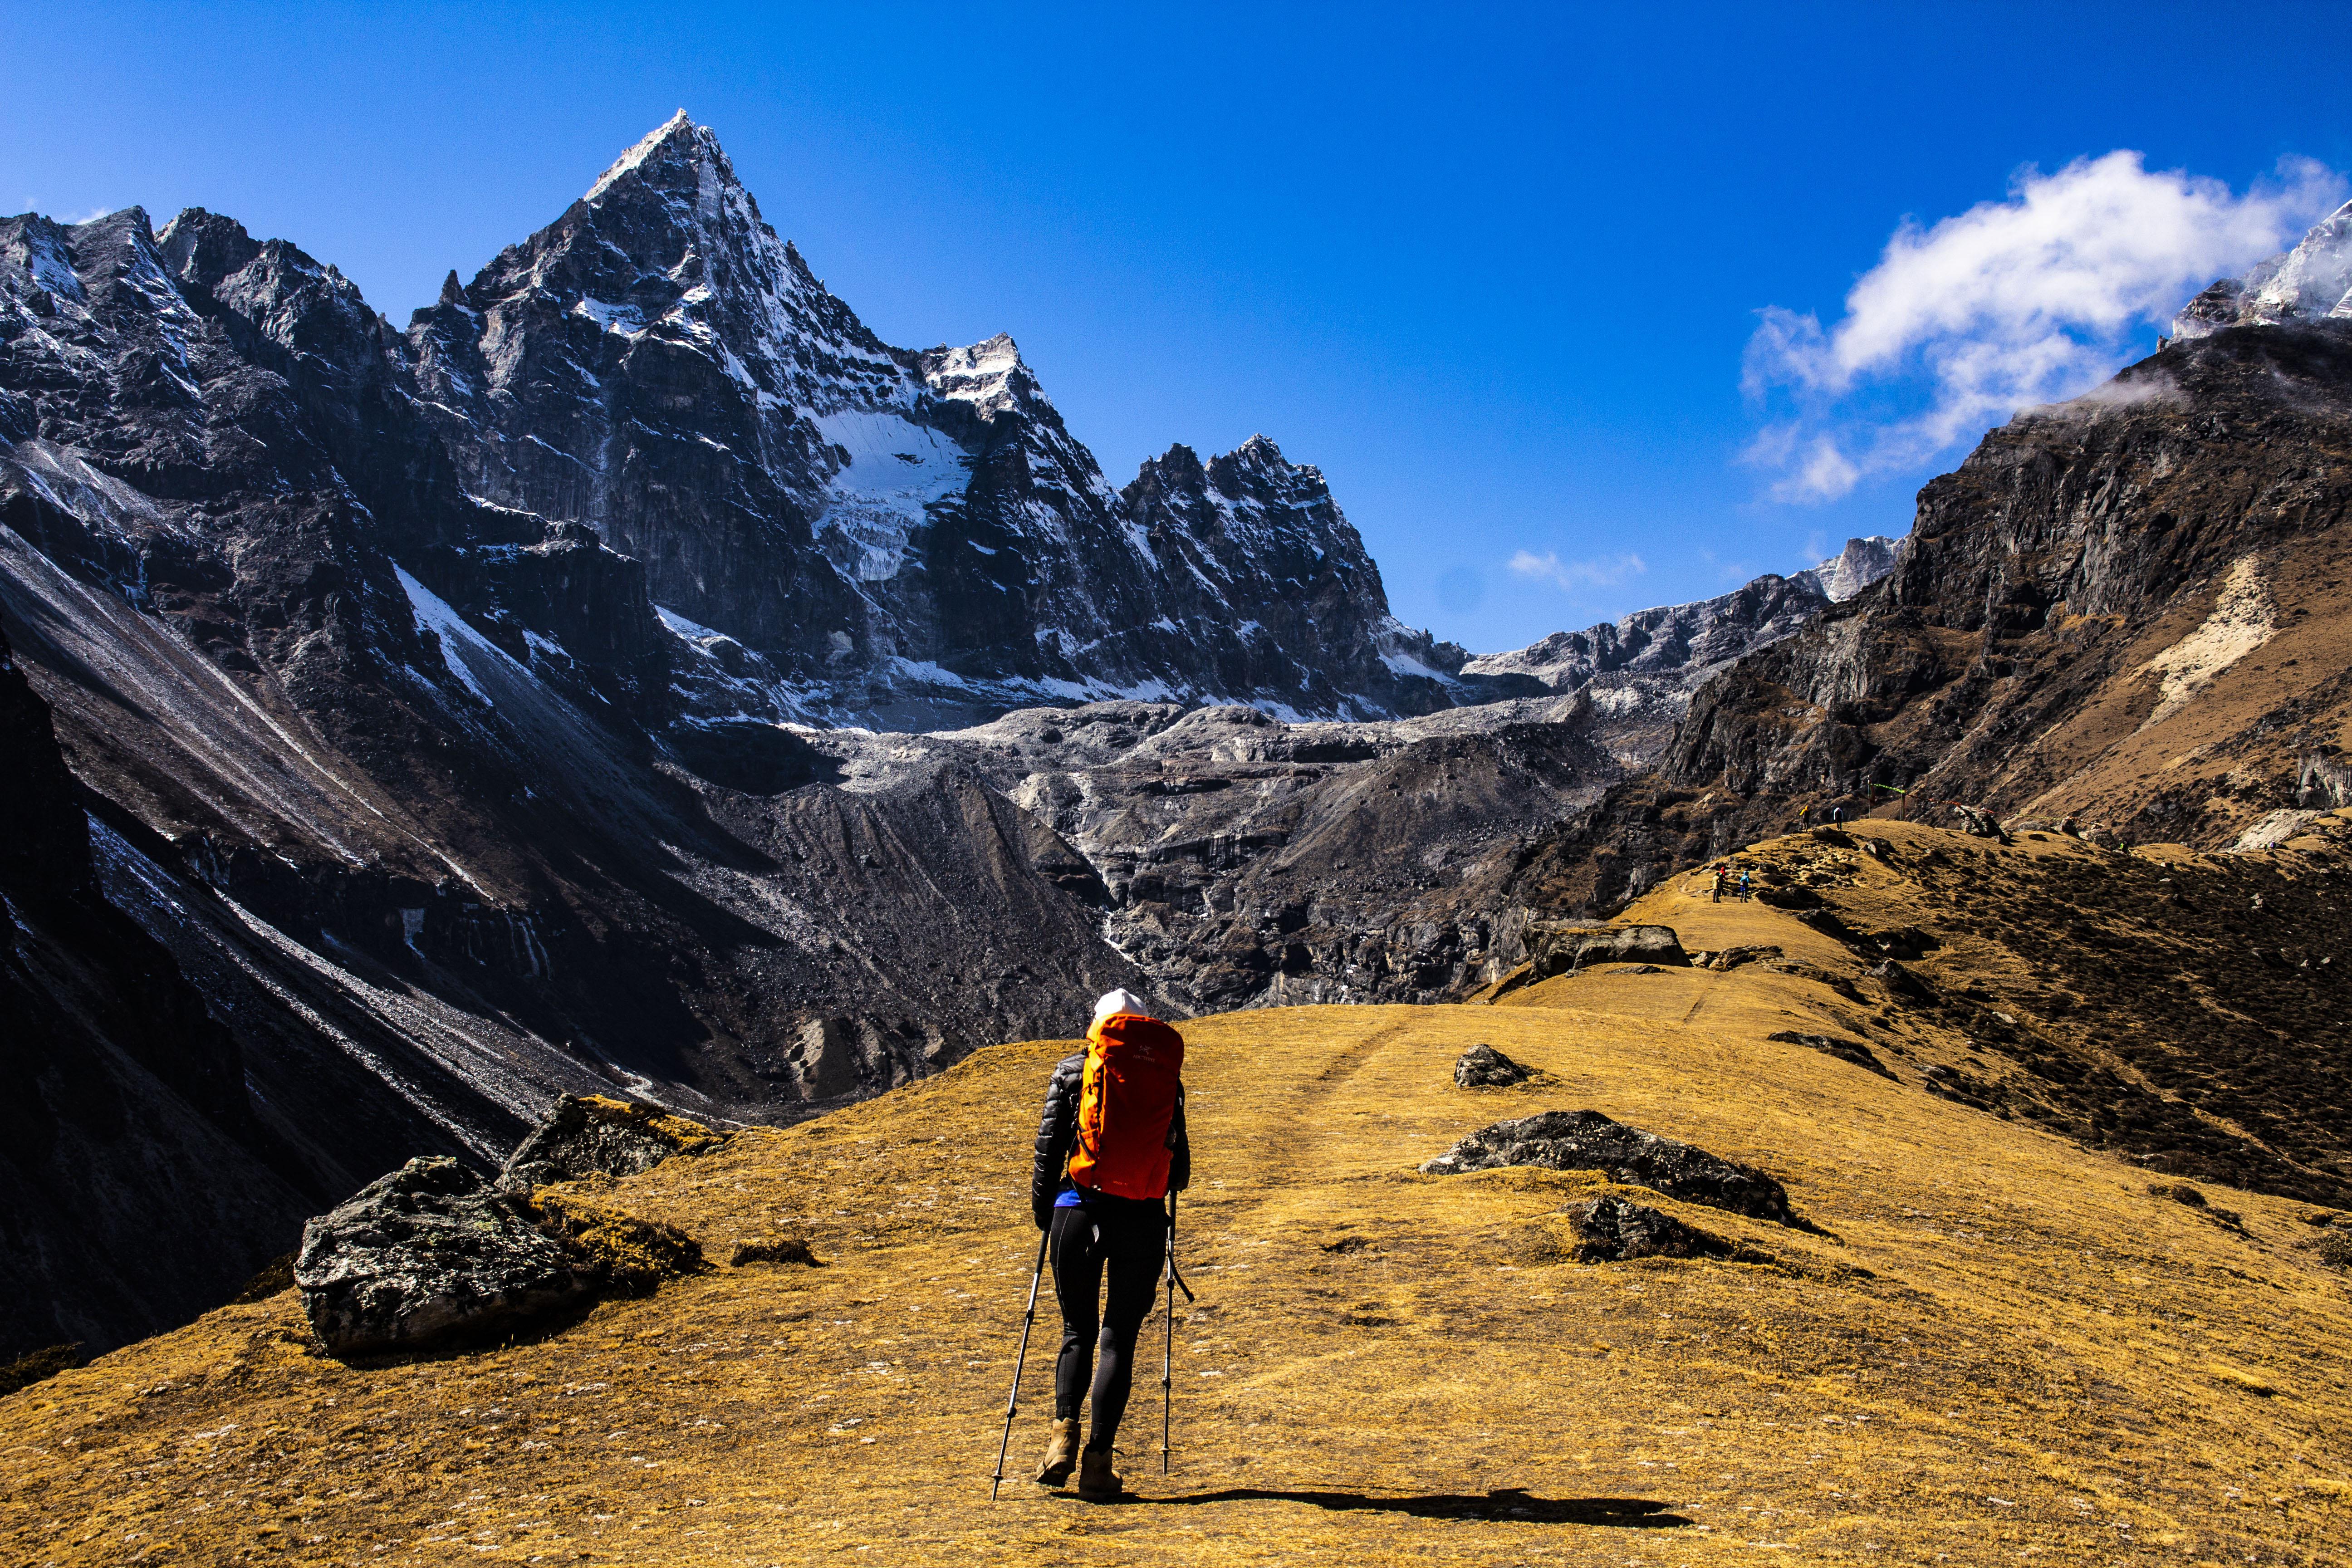
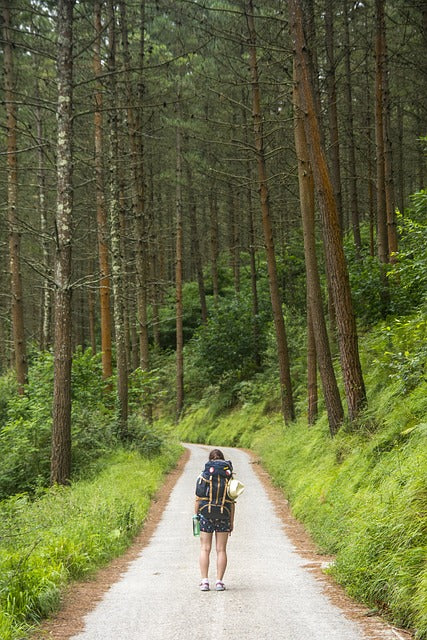
Leading Lines: Use natural lines, such as paths or rivers, to guide the viewer's eye through the image.
-
Framing: Use elements in the scene (like branches or archways) to frame your subject, adding depth to your composition.
Mastering Light
-
Golden Hour: Shoot during the hour after sunrise and before sunset for warm, soft light that enhances landscapes.
-
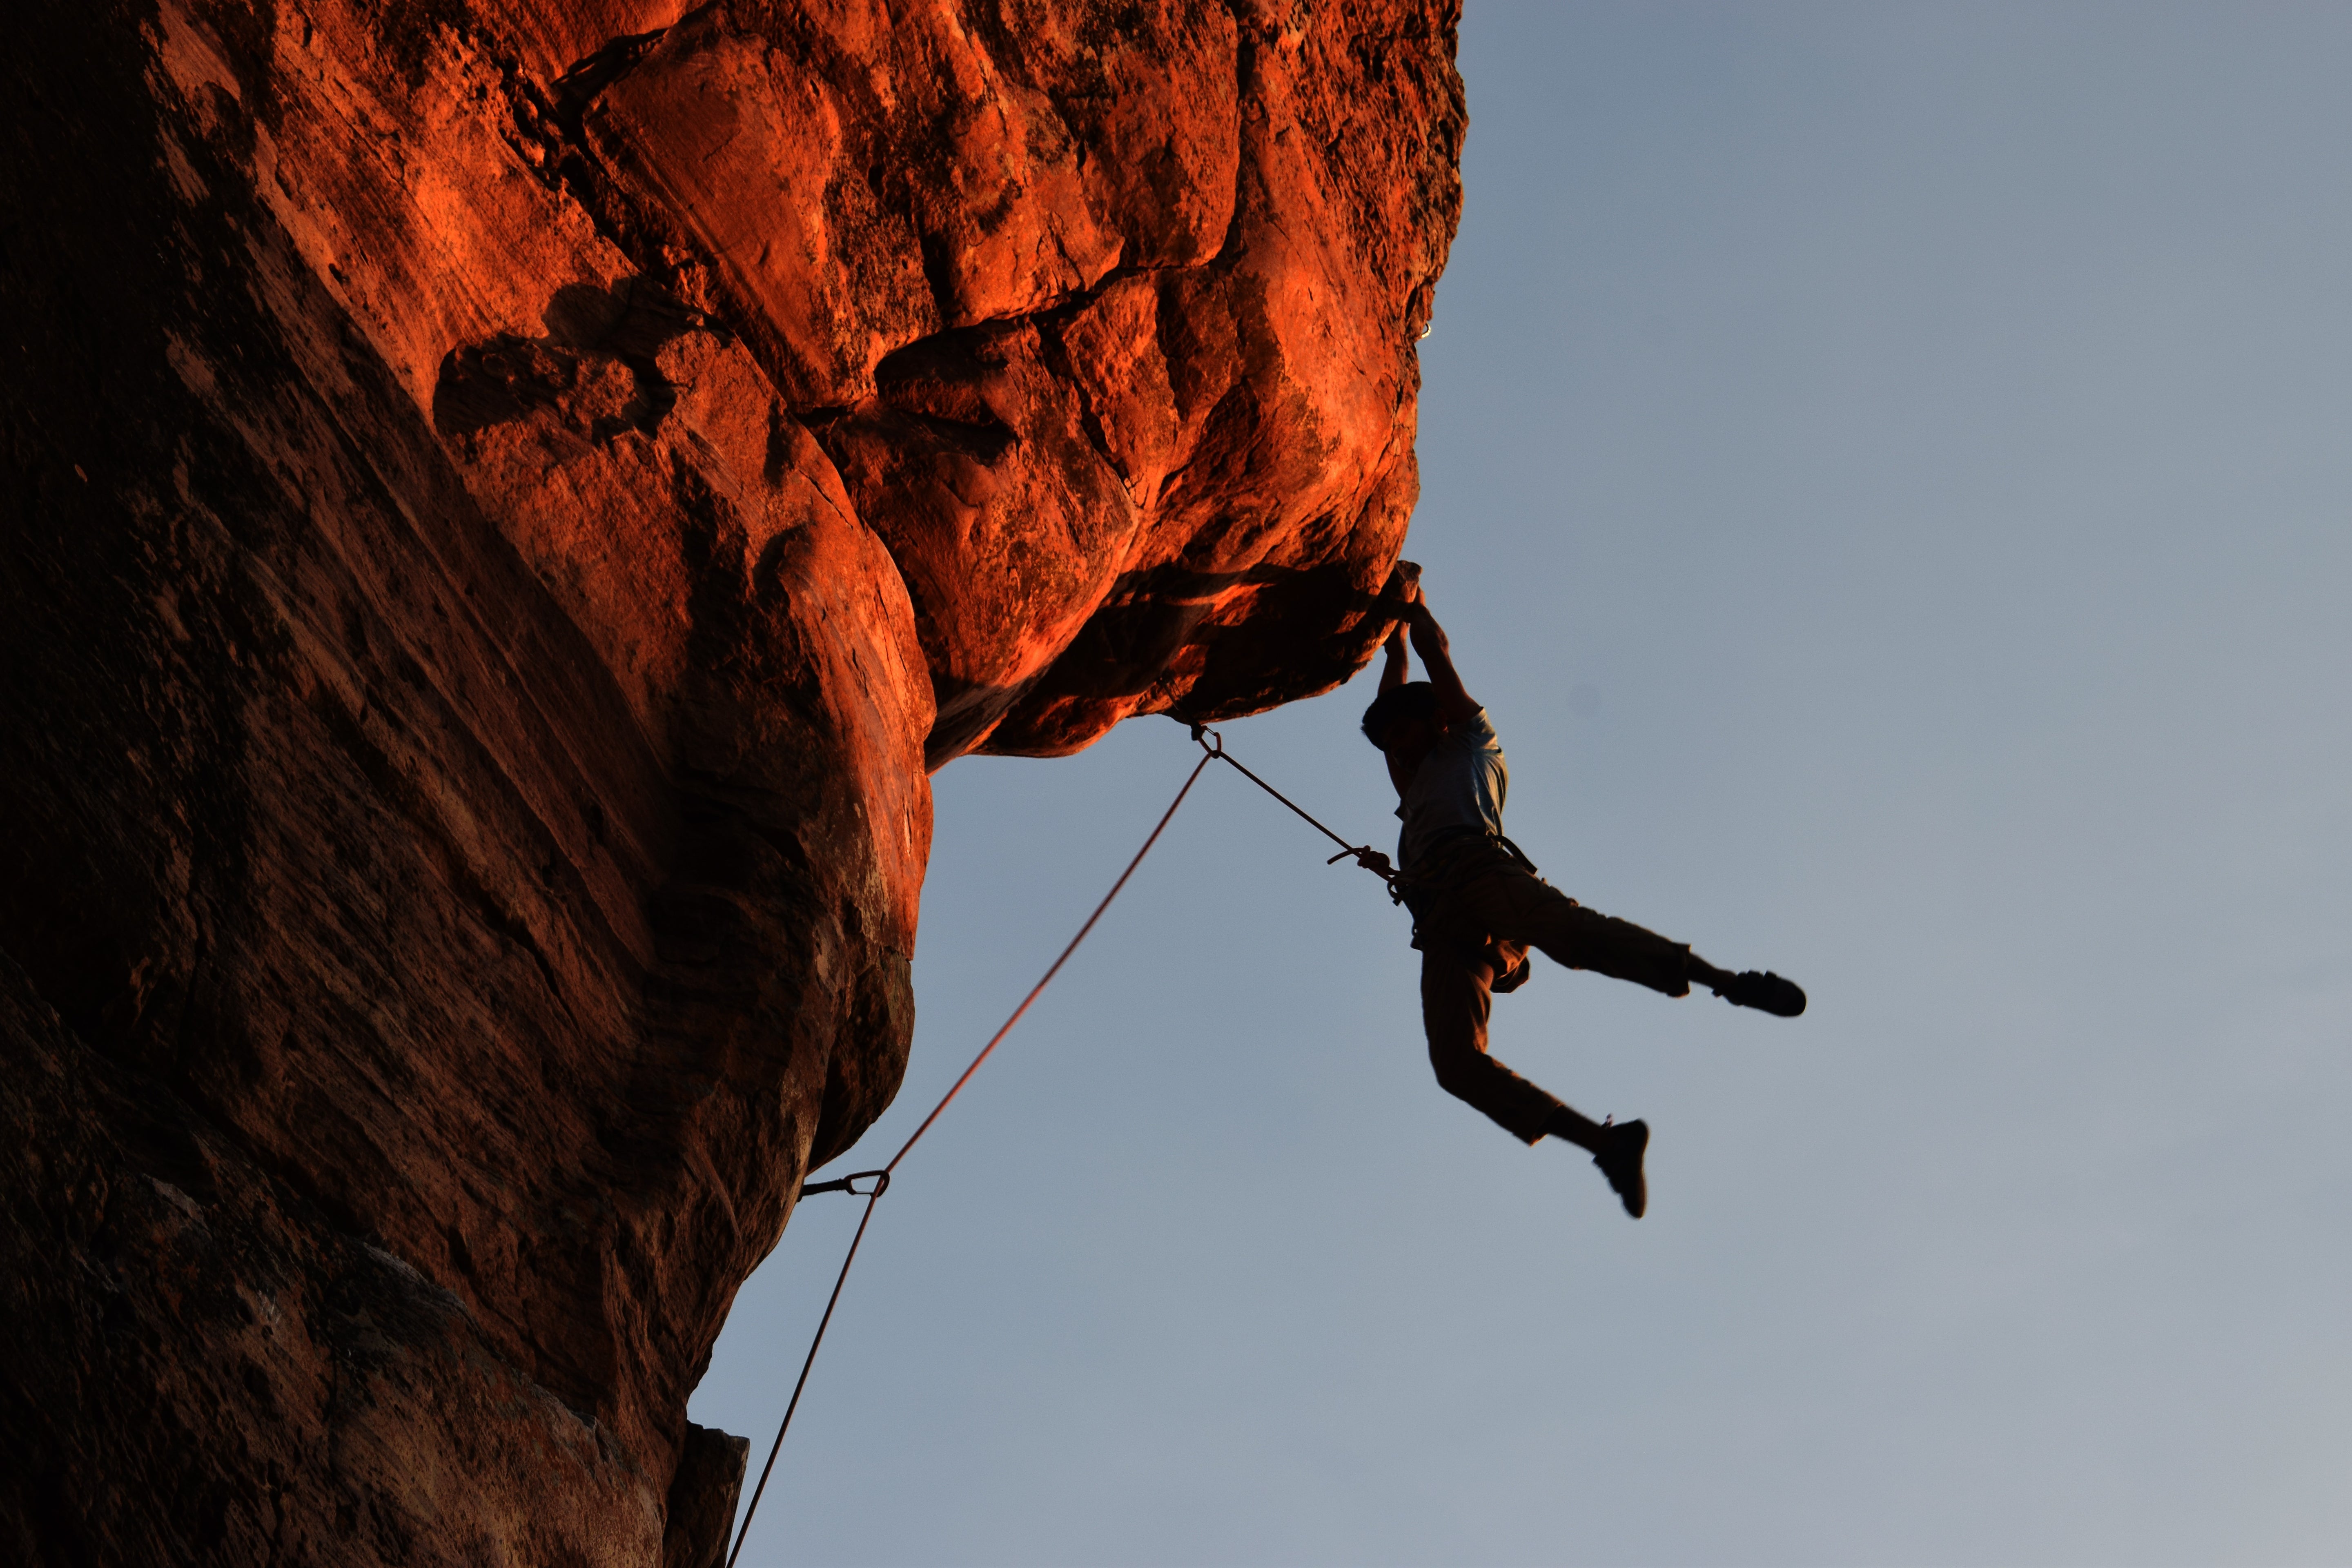
Backlighting: Position your subject with the light source behind it. This creates a halo effect and can add depth.
-
Shadow Play: Use shadows creatively to add contrast and interest to your photos.
Focusing Techniques
-
Depth of Field: Control your aperture to affect the depth of field. A wider aperture (lower f-stop number) creates a shallow depth of field, isolating subjects, while a narrower aperture (higher f-stop number) keeps more of the scene in focus.
-
Focusing on the Eyes: For wildlife photography, focus on the eyes to create a connection with the viewer.
Experiment with Perspectives
-
Different Angles: Change your viewpoint by crouching down, climbing higher, or moving around your subject for unique compositions.
-
Wide Shots and Close-ups: Capture both the vastness of landscapes and the intricate details of flora and fauna.
Post-Hike Processing
Once you return from your hike, post-processing can elevate your images. Here are some tips for editing your photos:
Choose the Right Software
-
Adobe Lightroom: Ideal for organizing and editing photos with a user-friendly interface.
-
Photoshop: Offers advanced editing capabilities for more intricate adjustments.
Basic Editing Techniques
-
Adjust Exposure: Correct any overexposed or underexposed areas.
-
Color Correction: Enhance colors for vibrancy. Adjusting white balance can also significantly affect the mood of your image.
-
Cropping: Crop to improve composition or remove distracting elements.
Advanced Techniques
-
HDR Photography: Combine multiple exposures to capture a wider dynamic range, particularly in challenging lighting situations.
-
Panoramas: Stitch multiple images together for breathtaking wide landscapes.
-
Black and White Conversion: Experiment with monochrome to highlight textures and contrasts in your images.
Sharing Your Work
Once you've perfected your images, consider sharing them to inspire others.
-
Social Media: Platforms like Instagram and Facebook are great for sharing your work with a larger audience.
-
Photography Blogs: Consider starting a blog to showcase your photos and share tips with fellow outdoor enthusiasts.
-
Photo Contests: Enter contests to gain exposure and connect with other photographers.
Conclusion
Improving your hiking and outdoor photography skills is a rewarding journey that enhances your appreciation of nature. By mastering fundamental concepts, preparing effectively, and applying various techniques, you can capture stunning images that reflect the beauty of your outdoor adventures. Remember, practice is key—so get out there, explore, and keep honing your skills! Happy shooting!
